Every major mailbox provider charges a recurring fee for something you can run yourself. If you want full control over your data and privacy, deploying your own email stack is the way to go.
However, self-hosting email in modern times is tricky. It is 20% Docker configuration and 80% DNS/Deliverability management.
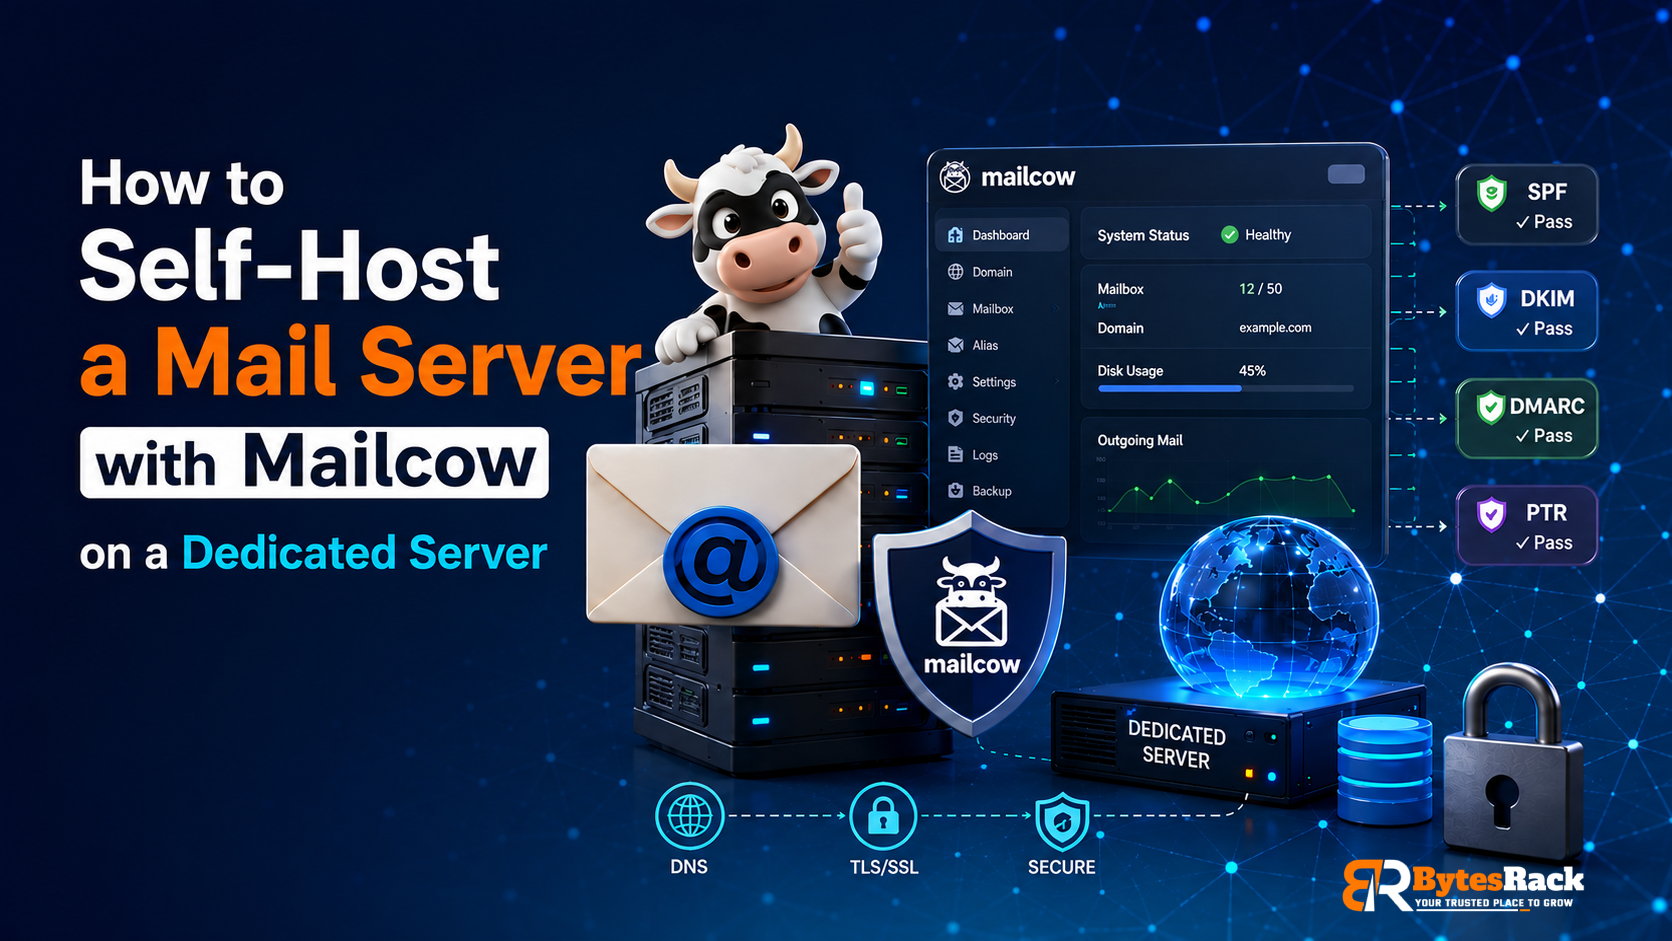
In this guide, I will share the architectural setup for deploying a complete email stack (SMTP, IMAP, webmail, antivirus, and antispam) using Mailcow Dockerized.
🏗️ The Infrastructure Prerequisites
Before touching the terminal, you need the right environment. I highly recommend using a Dedicated Server rather than a shared VPS. On a shared node, you inherit the bad IP reputation of other tenants, which kills deliverability.
You will need:
A Clean IP Address: Verify it has no blacklist history using MXToolbox.
Open Port 25: Many cloud providers block outbound port 25 by default. You must ask your provider to open it.
RAM: 6–8 GB minimum. Mailcow runs multiple containers (Postfix, Dovecot, SOGo, Rspamd, ClamAV). ClamAV alone will crash a low-RAM server.
OS: Debian 11/12 or Ubuntu 22.04 LTS.
🚀 The Docker Deployment
Start by setting a proper fully qualified domain name (FQDN) for the server. This becomes the hostname your mail server identifies itself with during SMTP handshakes.
hostnamectl set-hostname mail.yourdomain.com
Ensure Docker Engine (v24.0+) and the Compose plugin are installed, then clone the official Mailcow repository:
git clone [https://github.com/mailcow/mailcow-dockerized](https://github.com/mailcow/mailcow-dockerized)
cd mailcow-dockerized
Run the configuration generator. This script asks for your mail hostname and timezone:
./generate_config.sh
(Note: If the script detects low RAM, it will prompt you to disable ClamAV. For a production environment, I strongly advise keeping ClamAV enabled and provisioning more RAM instead).
Pull the images and spin up the stack:
docker compose pull
docker compose up -d
You can now access your Mailcow admin panel at https://mail.yourdomain.com (Default credentials: admin / moohoo — change this immediately).
🛑 The Hard Part: DNS & Deliverability
Having the Docker containers running is just the beginning. To ensure your emails actually land in Gmail or Outlook inboxes instead of the spam folder, you must perfectly configure your DNS matrix:
- MX Record: Routes incoming mail.
- SPF (Sender Policy Framework): Authorizes your server's IP.
- DKIM (DomainKeys Identified Mail): Cryptographically signs outgoing mail.
- DMARC: Defines the policy for authentication failures.
- PTR (Reverse DNS): Confirms your IP resolves back to your hostname.
👉 Read the Complete Implementation Guide
Because generating DKIM keys, securing the firewall, and setting up the automated backup_and_restore.sh cronjobs require a much deeper dive, I have documented the entire step-by-step process on my personal blog.
If you are following along and building your own server, you can find the complete DNS configuration and hardening steps here:
Comments
Join the discussionNo comments yet. Be the first to comment.